Miniature basing is like magic. Even if you haven't been around the hobby at all, you know what I mean: you see an amazing base and think, "how'd he/she do that?" Just like we want to know the secrets behind the magician's tricks, we want to know exactly what went into making that scorching desert, that freezing urban warzone. We want to know how it was done. If you aspire to make interesting bases, you've no doubt scoured the internet, miniature and model magazines, art books, etc. trying to find answers, looking for techniques to make unique and memorable bases. This, I've realized, is exactly a part of the problem (at least for me): I've spent years looking at tutorials, reading magazines, and paging through books looking for the perfect techniques by which to realize my visions for my projects. Recently, I've come to a difficult conclusion: they aren't out there. Furthermore, they can't be out there.
This is not to say that I have not found incredibly good and useful techniques, nor is it to say that the techniques out there are worthless and that I should ideally only use techniques I have invented myself (which is definitely not true). It is to say that, in looking for someone else's way of doing it, I am, at least by definition, making it more difficult to make something unique and memorable, to realize my vision. Why? Because it's been done before. We've all seen that kind of base, those kinds of techniques. We know what to expect. In short, ironically, making interesting art is at least in part about defying expectations, and yet I've been looking to tutorials containing established techniques to provide me with the ability to make my art unique and interesting. I found, on some level, I wanted my stuff to look like someone else's. Ironic inconsistency? Yes. Even more ironic that this is contained in a basing tutorial? ...Yes.
So what do I aim to do here? I'm going to show you some of the techniques I use, whether I made them up or not. Why? Because they are tools that can be appropriated, and hopefully they will help you realize your desire to make something (ironically) unique and interesting. Even further, hopefully this will help free you to start experimenting with your own techniques - because, at least in my opinion, it really is most enjoyable when I am experimenting or playing around, and what's more, this is also when I happen to get the best results! So please, take this for whatever it's worth, and if you have a creative itch, scratch it! Just give it a shot. Even if it doesn't come out the way you want it to, you'll learn something from it, which can be applied to your next project.
TLDR: Every time you set out to make a unique, original, and interesting piece of art, you are venturing into uncharted territory: if you want to make something unqiue, you are going to have to invent unique techniques to do it!
OK, here's a step by step kind of walkthrough of my latest project.
1. Planning
First, you've got to have a model! I like to have the model in hand and assembled so I can place it on the base and take it off while mocking it up. This way I can see how much space it takes up, get a rough idea of how to place it, frame it, etc. Now get your imagination to work!

I recently did a model that had a kind of overgrown urban theme (Sun Tze - Infinity), and I want to continue that theme with this project. I was walking the other day and noticed some weeds that looked like tiny flowers.

These really were the inspiration for this project. I've also wanted to try Tim Holtz' Crackle Paint for a while, and I found an awesome tutorial on making barbed wire the other day, so these will all be things I'm looking to integrate into this project - graffiti, worn white-washed fence, barbed wire, flowers.
2. Research
Before I start working, I try to collect as many reference photos as I can of the things I want to reproduce. Here are a few -


References are really invaluable, they let you see how things look in real life, can be put into Adobe Kuler to figure out colors, and give you a sense for how to go about replicating the textures.
By this point, I also have an idea for the color scheme I want to use, so I have a rough idea of what I want it to look like in the end.
3. Base Construction - It's like flower arranging.
Materials used (in no particular order):
Wood Block
Milliput
Scale Lumber
O Scale Oil Drums
Dirt
Corrugated Plastic Sheet
32 Gauge Wire
Juweela Bricks
Ballast (Three Sizes)
Tree Bark
Wire Mesh
Hollow Plastic Rod
I had a basic idea for what I wanted to do, which I sketched out in GIMP. Sometimes I use GIMP, sometimes I will draw it out in a sketchbook. I liked the references I found, so I decided to use them.
 |
| It'd be a dream if it turns out looking this good. |
So, step by step, here's what I did.
(I'd made the barbed wire before I started, and linked the tutorial above if you want to check it out)
a. Place the figure on the base. I pin all my figures feet with a hand drill and paper clip, so I drill a hole in the wood block for it to go into. It can take a couple tries to get the placement I'm looking for, but there is no downside to drilling multiple holes into the base at this point, they can easily be patched.
b. I start working on the fence. I measure the boards against the figure to get the height I want, and cut them out to the desired length. I lay them out to see what I've got.

At this point, I kind of play around with it, trying a few different layouts before I settle on one that looks right. I refer to my photo (above) and I know I want it to get more broken to the right, where it will not be behind the figure. This will assure me some visual interest that won't clash with that of the model. I glue it all together with PVA glue.

 |
| You can watch it crackle. |

c. I prepare some milliput, and place the fence on the base with super glue. I use the milliput to give the fence some sturdiness at its base, and to create some height variation on the ground.
 |
| This stuff is money! |

I also make an indent for where the corrugated plastic will fit, so I can easily slide it in and out. I plan to paint most of the base with it unattached.
d. Next, while the milliput is still workable, I start placing objects - the drums (one of which I have to cut in half to fit on the base), a couple large rocks (made from tree bark I broke apart), some broken bricks, etc. I also figure out where I want the barbed wire to go. Next, I cover the ground with PVA glue and sprinkle dirt on top of it. I dab on extra (thinned) glue in some places and add some different sizes of ballast, again in the interest of variation.

After this, I dry it with a hairdryer. This not only helps it dry faster, but lets me get rid of excess dirt and see if there are any patchy spots to which I need to add dirt. There usually are. Once it's dry, I add the little flowers, because I want to paint them in a way that is consistent with the base. I use fine tweezers and dip the bottom of the stem into superglue to place them. I intentionally add more than I think I am going to want, which gives me some leeway to play around. It can't hurt anything, right?

I drill a hand drill into the bottom, which is what I use to hold the base while priming. I also haven't glued the corrugated plastic down, because I am going to want to paint it separately. I use forceps to hold it while priming.

e. (Spray) paint it black!

I let it dry for a bit, and then take the airbrush to it. I use plain white to block in highlights. I emphasize the ground beneath where the figure will stand and the area behind it. This helps draw the eye towards the figure. It's subtle, but it helps to establish where your highlights/ shadows are going to be. Plus it doesn't take much time, and it's pretty fun. It looks cool when you're done too. I re-attach the corrugated plastic before I airbrush, by the way. I do this with sticky tack, so it's not permanent. I want the shading and highlighting on the metal, too.

4. Painting
I like to paint bases in a different style than figures. I also like to get a little 'loose' with my painting on bases. I don't feel there are many ways to make 'mistakes' here. On figures, I use mostly dab/ glaze-highlighting, dab/ glaze/ wash shading. On bases I like to use a lot of wet-blending. I think using the different styles helps create contrast. On both, though, I have a general procedure of basecoat, highlight, shade, highlight, shade (and will keep going back and forth as long as necessary), and then touch-up at the end if needed (sometimes you can lose the mid-tone like this, if you get carried away).
a. I always start with the ground - makes sense, right? I use three colors: one neutral brown (GW Steel Legion) one cold brown (VA Dark Earth) and one warm brown (GW Mournfang). I thin them down a lot, maybe 5:1 or so. I'm not exactly sure, I just stop when it looks/ feels right.

I pick a place to start and just begin adding color. I put one down, then another next to it, mix them together a bit, and keep going. I don't clean my brush, and sometimes I will mix them on the palette. This is all aimed at getting some nice color variation. This is also one of my favorite parts of the whole process - model included. It's relaxing, and there aren't many ways to do it wrong or mess up here.

b. Next I work on the other parts. All are painted with glazing/ wet-blending. I'll just list the colors I used. These vary from piece to piece, as I want them to jive with what I've done on the figure.
Rocks: P3 Ironhull, adding GW Fortress for highlights. I think I did 3 highlights.
Bricks: GW Doombull, adding P3 Jack Bone for highlights, P3 Exile Blue and Murderous Magenta for shadows.
Drums: P3 Ironhull mixed with Bloodstone, adding GW Fortress for highlights.
Fence: P3 Menoth Highlight, Bastion Grey, adding White for highlights and Thornwood Green for shadows.
After everything is at about the same level of completion, I do a light drybrush of GW Screaming Skull on the soil and bricks, some edge highlighting with the same color on the bricks, and then wash everything (and I mean EVERYTHING) with thinned Agrax Earthshade. I use water to move it around to places I want or thin it out in others. A lot of this I picked up from Ben Komets' tutorial on Miniature Mentor. I'd recommend it, if you are interested in watching it done.
 |
| Starting to take shape... |
c. Next I basecoat the metallic parts and apply some damage to the drums. The metallics are either GW Leadbelcher (corrugated metal, pipes) or Chainmail (barbed wire, chain link). The drums have GW Rhinox and then Doombull sponged on, with a couple different kinds of sponges. I highlight the chips with GW Fortress Grey, and the metallics with the proper lighter metallic color.

d. Weathering the metallics/ drums - I really enjoy this part. I start with a wash that consists of VGC Smokey Ink, P3 Exile Blue, and P3 Armor Wash. It's a kind of grey with hints of blue, green, and red. After that I apply AK Interactive Rust Streaks and Light Rust. I use an old brush to stipple it on in places, and then a larger brush to dab at it, spread it out or streak it. This is an enamel, so I have to use turpenoid to thin it. I place it, let it dry a little, and then come back with the turpenoid to move it around. I used the darker color first (streaks) then the lighter (light rust). I also apply it to the chain link, pipes, and barbed wire. One thing I've learned: do NOT cross the streams. Do NOT use the same brushes for this as you do for normal painting, do NOT use the same water or mixing surface, etc. I don't even use the same glass anymore. If you get enamel/ turpenoid in the water it makes things very frustrating; the water no longer works like you think it should. After I'm finished, I clean everything, just in case. I then give the metallics a final highlight.


After it's dry, I add some rusty pigments to all of the metallics and the drums. I use Vallejo Burnt Siena and Dark Red Ochre. I mix them together with water until they are sufficiently thin. I paint them on, let them dry (hair dryer), and then use a dry or damp brush to spread them out or move them around if they are too clumped up or look too solid.

e. To do the graffiti, I make a stencil. I draw it out from my reference on a small piece of paper, and then cover the paper on either side with packing tape. I use an xacto to cut out the part that will be colored, and then tape it all to the base, covering areas on which I don't want paint, just in case I make a mistake or something unexpected happens.

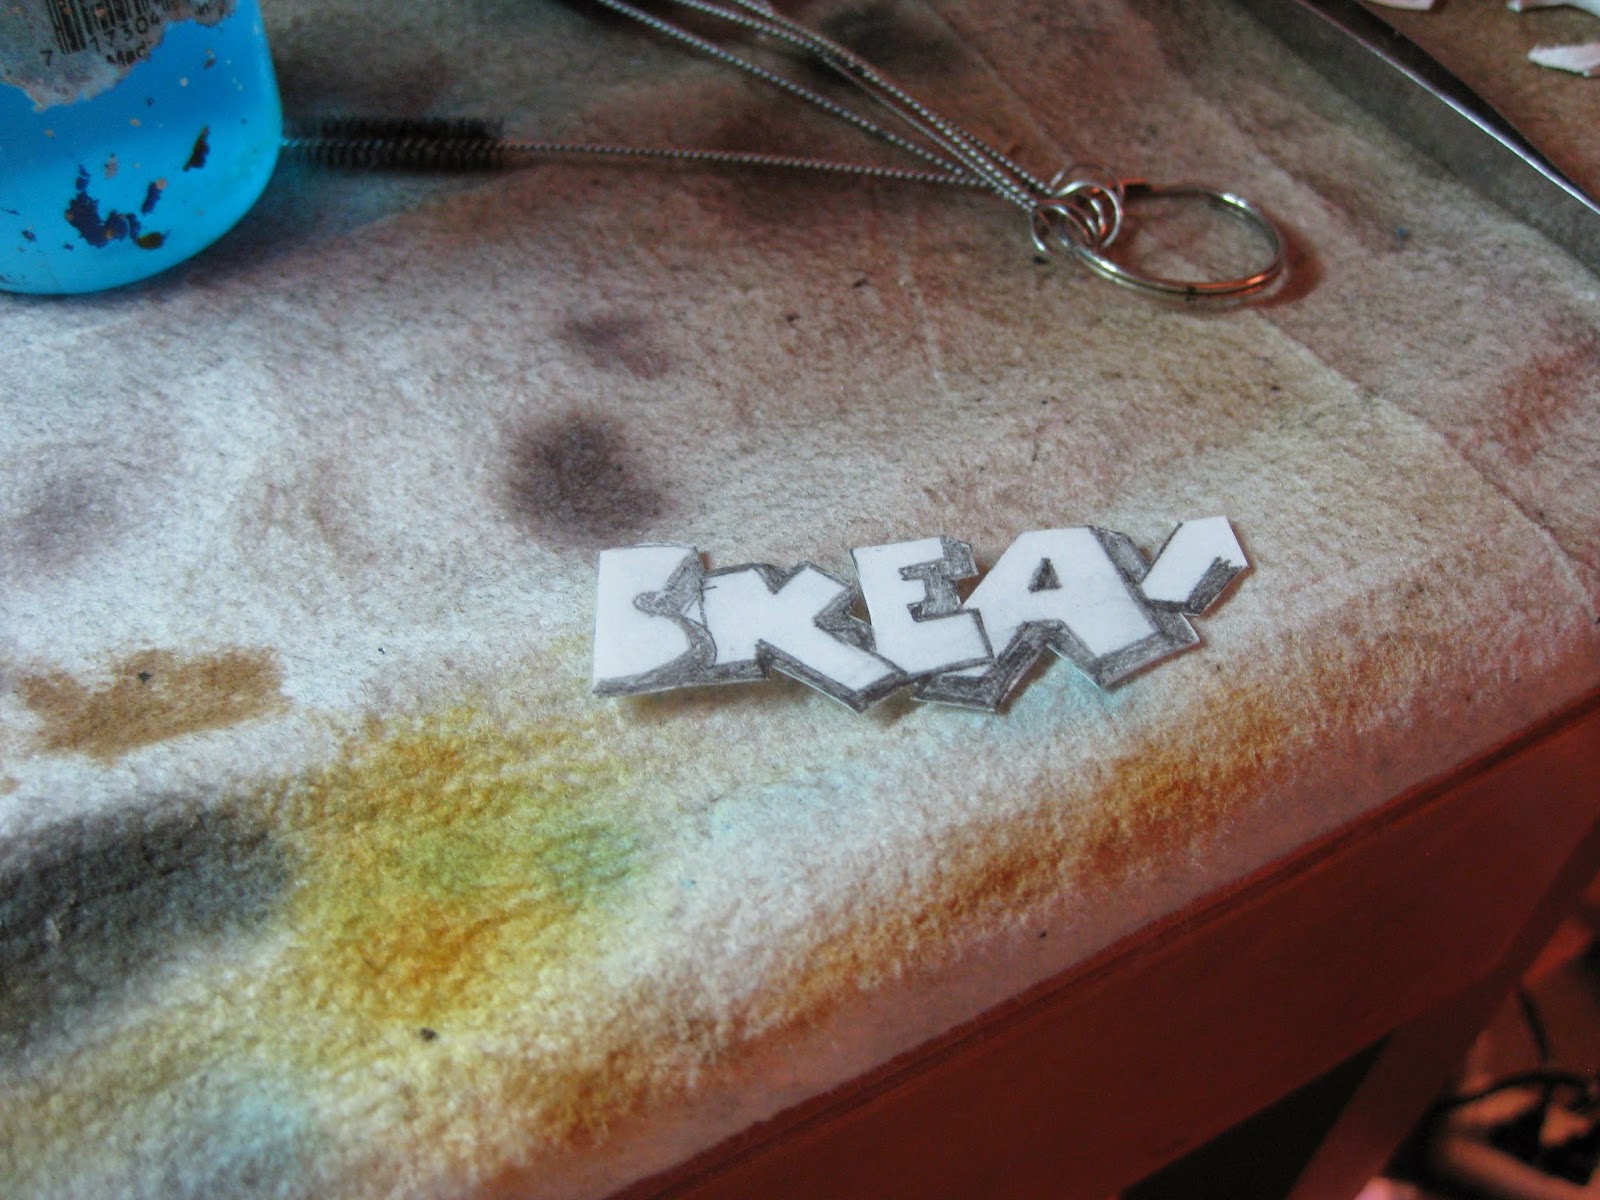 |
| I hope you take it as a compliment that I used your tag, Mr. Skeam. |
Note: I actually made a mistake here, too. I forgot to cover off the cross beams, where I don't want the graffiti. I don't notice it until I finished spraying the black, and decided that I could just cover it with moss and nobody would be the wiser. One thing I tell myself: I'm not aiming at perfection, but enjoyment.
Anyway, first I spray black over most of the area, especially the outline. I only spray from one direction, because I don't want to spray under the stencil. I also spray very lightly, because I do not want any pools forming or drips flowing down the fence (although, now that I think about it, that could look interesting... maybe in a future project?). After spraying the black, I do the lighter color (P3 Arcane Blue mixed with GW Skull White) and then the darker color (P3 Murderous Magenta). Note I used GW White instead of P3. Don't bother trying to airbrush with P3 White. It's awful for it. I keep this old pot of GW White just for when I need to airbrush white. May it never run out!
So, I absentmindedly forgot to take pictures of a couple steps, but you can see from the stencil that what I'm going to wind up with is a giant blob of color transition. I do go back with black at the end, just around the edges, but the rest must be done with a brush. I use slightly thinned black paint and a brush with a nice point to do the outlining/ black parts. After that's done, I glaze a buff color, a lighter shade of the fence's basecoat, over the fence, graffiti and all. This not only helps unify the colors, but it also makes it look a little faded, which is what I want. I also use another thin wash of Agrax, just to reinforce the texture of the cracked paint.
While I've got the pallete out, I also decide to put some colors on the flowers - thin glazes of P3 Magenta and Moldy Ochre - I'm excited to see how they look together, though I change them later.
 |
| Ignore the grass... it's just there to get a sense of the color combination. |
f. Is for "foil-age", and there is going to be so much foilage! It's an old Simpsons reference... Anywho, this is another of my favorite parts.
Materials: Matte Varnish, Superglue, Woodland Scenics Fine Turf (Earth), Army Painter Tufts, Sisal Grass I made
First, I make moss. I use the method involving Matte Varnish and Turf. I place it in areas I think look interesting.
Next I pick some spots to put the grass tufts. I add some Agrax to the base of the tuft and stipple some throughout, just to get some more color variation. I use water to smooth it out if I put too much on.
I also use some combed out and painted sisal twine, placed with tweezers and superglue. It just adds more variety. I found this technique on another guy's blog, but can't remember the name. Anyway, credit to whomever deserves it and all that.
 |
| The leaves really help - you can see the difference here between those that have leaves and those that don't. |
No comments:
Post a Comment